Setting Up a Small Sound System
A useful guide on how to set up two speakers, a mixer, and a mic.
Whether you're hosting a small event, giving a presentation, or simply looking to improve the audio quality of your gatherings, setting up a small sound system can make a significant difference. In this guide, we'll walk you through the steps to create a basic sound setup using two powered speakers, a mixer, and a microphone.
1. Gather Your Equipment:
Before diving into the setup process, ensure you have all the necessary equipment:
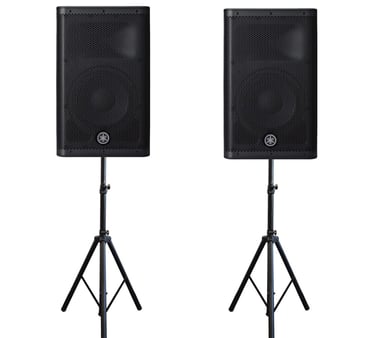
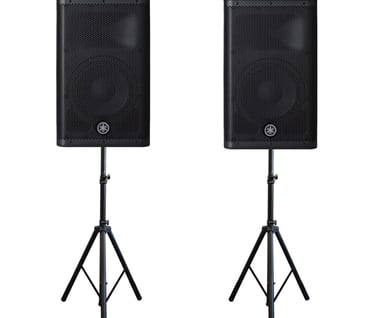
Two Powered Speakers: These speakers have built-in amplifiers, eliminating the need for an external power amp.
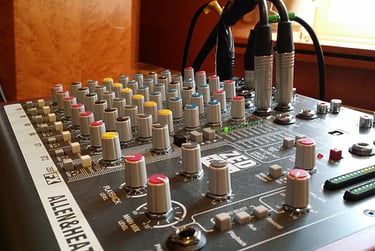
Mixer: A mixer allows you to control audio inputs, balance sound levels, and apply basic effects.
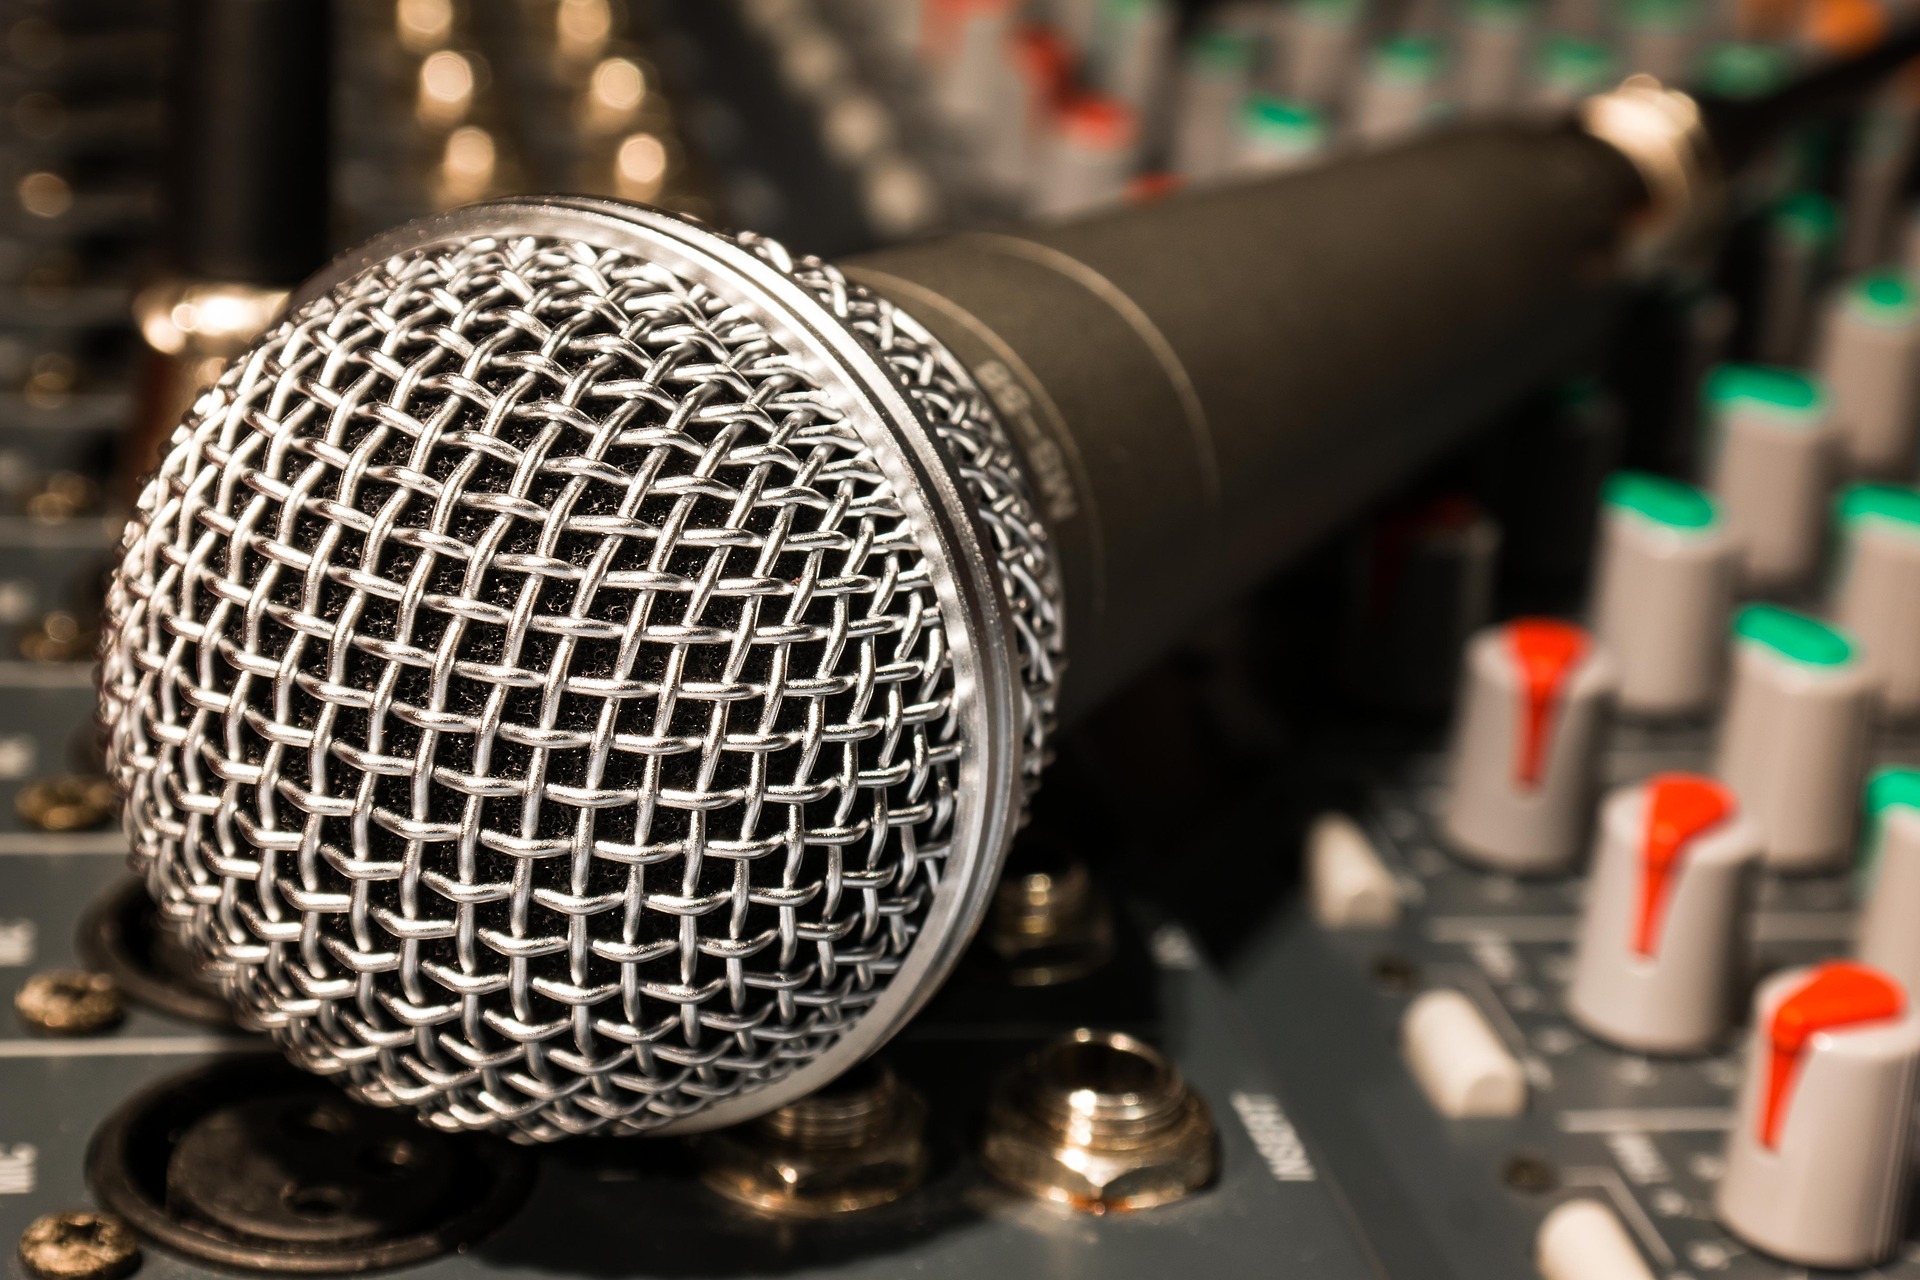
Microphone: Choose a microphone suitable for your intended use (e.g., dynamic for vocals, condenser for instruments).
Cables: You'll need audio cables to connect the mixer, microphone, and speakers.
Stands and Mounts: If available, stands or mounts can help position the speakers and microphone optimally.
2. Setup Process:
Step 1: Placing the Speakers Position the powered speakers at an equal distance from your intended listening area. Angle them slightly inward to create a better stereo effect. If the speakers have mounting options, secure them to stands or mounts for stability.
Step 2: Connecting the Mixer Connect the output from your audio source (e.g., laptop, smartphone) to one of the mixer's input channels. Use an appropriate cable (e.g., RCA, 3.5mm) based on your source's output and mixer's input. Ensure the mixer's gain knob is at a low setting before proceeding.
Step 3: Connecting the Microphone Plug the microphone into another available input channel on the mixer. Adjust the gain knob on the corresponding channel to achieve a clear audio signal without distortion. If your microphone requires phantom power (common for condenser mics), activate it on the mixer.
Step 4: Mixer Outputs to Speakers Connect the main output of the mixer to the input of your powered speakers. This is usually done using balanced audio cables (XLR or TRS cables). Adjust the main volume on the mixer to an appropriate level.
Step 5: Balancing Sound With audio playing through the mixer, gradually increase the volume on the mixer and speakers until you achieve a balanced sound. Use the mixer's EQ controls to adjust the tone as needed. Ensure the master output level doesn't clip (excessively distort) by keeping an eye on the mixer's level meters.
Step 6: Testing and Tweaking Test the microphone and audio source to make sure everything is working as expected. Make fine adjustments to the mixer's settings as needed. Remember that practice and experimentation can lead to the best sound.
3. Troubleshooting and Tips:
Feedback: If you hear high-pitched squealing (feedback), reduce the microphone's volume or reposition the microphone and speakers.
Grounding: Ensure all components are properly grounded to minimize humming or interference.
Positioning: Experiment with speaker and microphone placement for optimal sound projection and clarity.
Cable Management: Keep cables organized and avoid running them across walkways to prevent tripping hazards.
Setting up a small sound system might seem overwhelming at first, but with practice, it becomes second nature. As you become more familiar with the equipment and its settings, you'll be able to fine-tune your sound system to suit various situations. Enjoy your improved audio experience at your events, presentations, and gatherings!
If your needs exceed the "just two speaker setup", we can help. Just contact us and we'll sort it out.